Connect OneDrive to Power BI
Use Coupler.io to connect OneDrive to Power BI without any coding required. In just a few steps, you can extract data, organize it as you prefer, and transform it into self-updating reports packed with insights that enhance your analytics.


Connect OneDrive to Power BI with Coupler.io to simplify reporting

Get and prepare data effortlessly
Export OneDrive to Power BI even if you've never had a chance to try your hand at coding. With the Coupler.io reporting automation platform, you can transform data, set a custom schedule for automated refreshes, and collect records from numerous apps.

Automate reporting tasks
Automated data import from OneDrive to Power BI is your way to minimize the scope of manual activities, reduce the time required for reporting tasks, and have dynamic, interactive visualizations easily created by using our free dashboard templates.

Stand out as a data-driven expert
Solidify your reputation among clients and stakeholders by consistently delivering data-driven reports without delay. Thanks to Coupler.io's automation, you can bid farewell to lengthy reporting and free up a large amount of time for strategic efforts.
Export data from OneDrive to alternative destinations


Quick start with dashboard templates
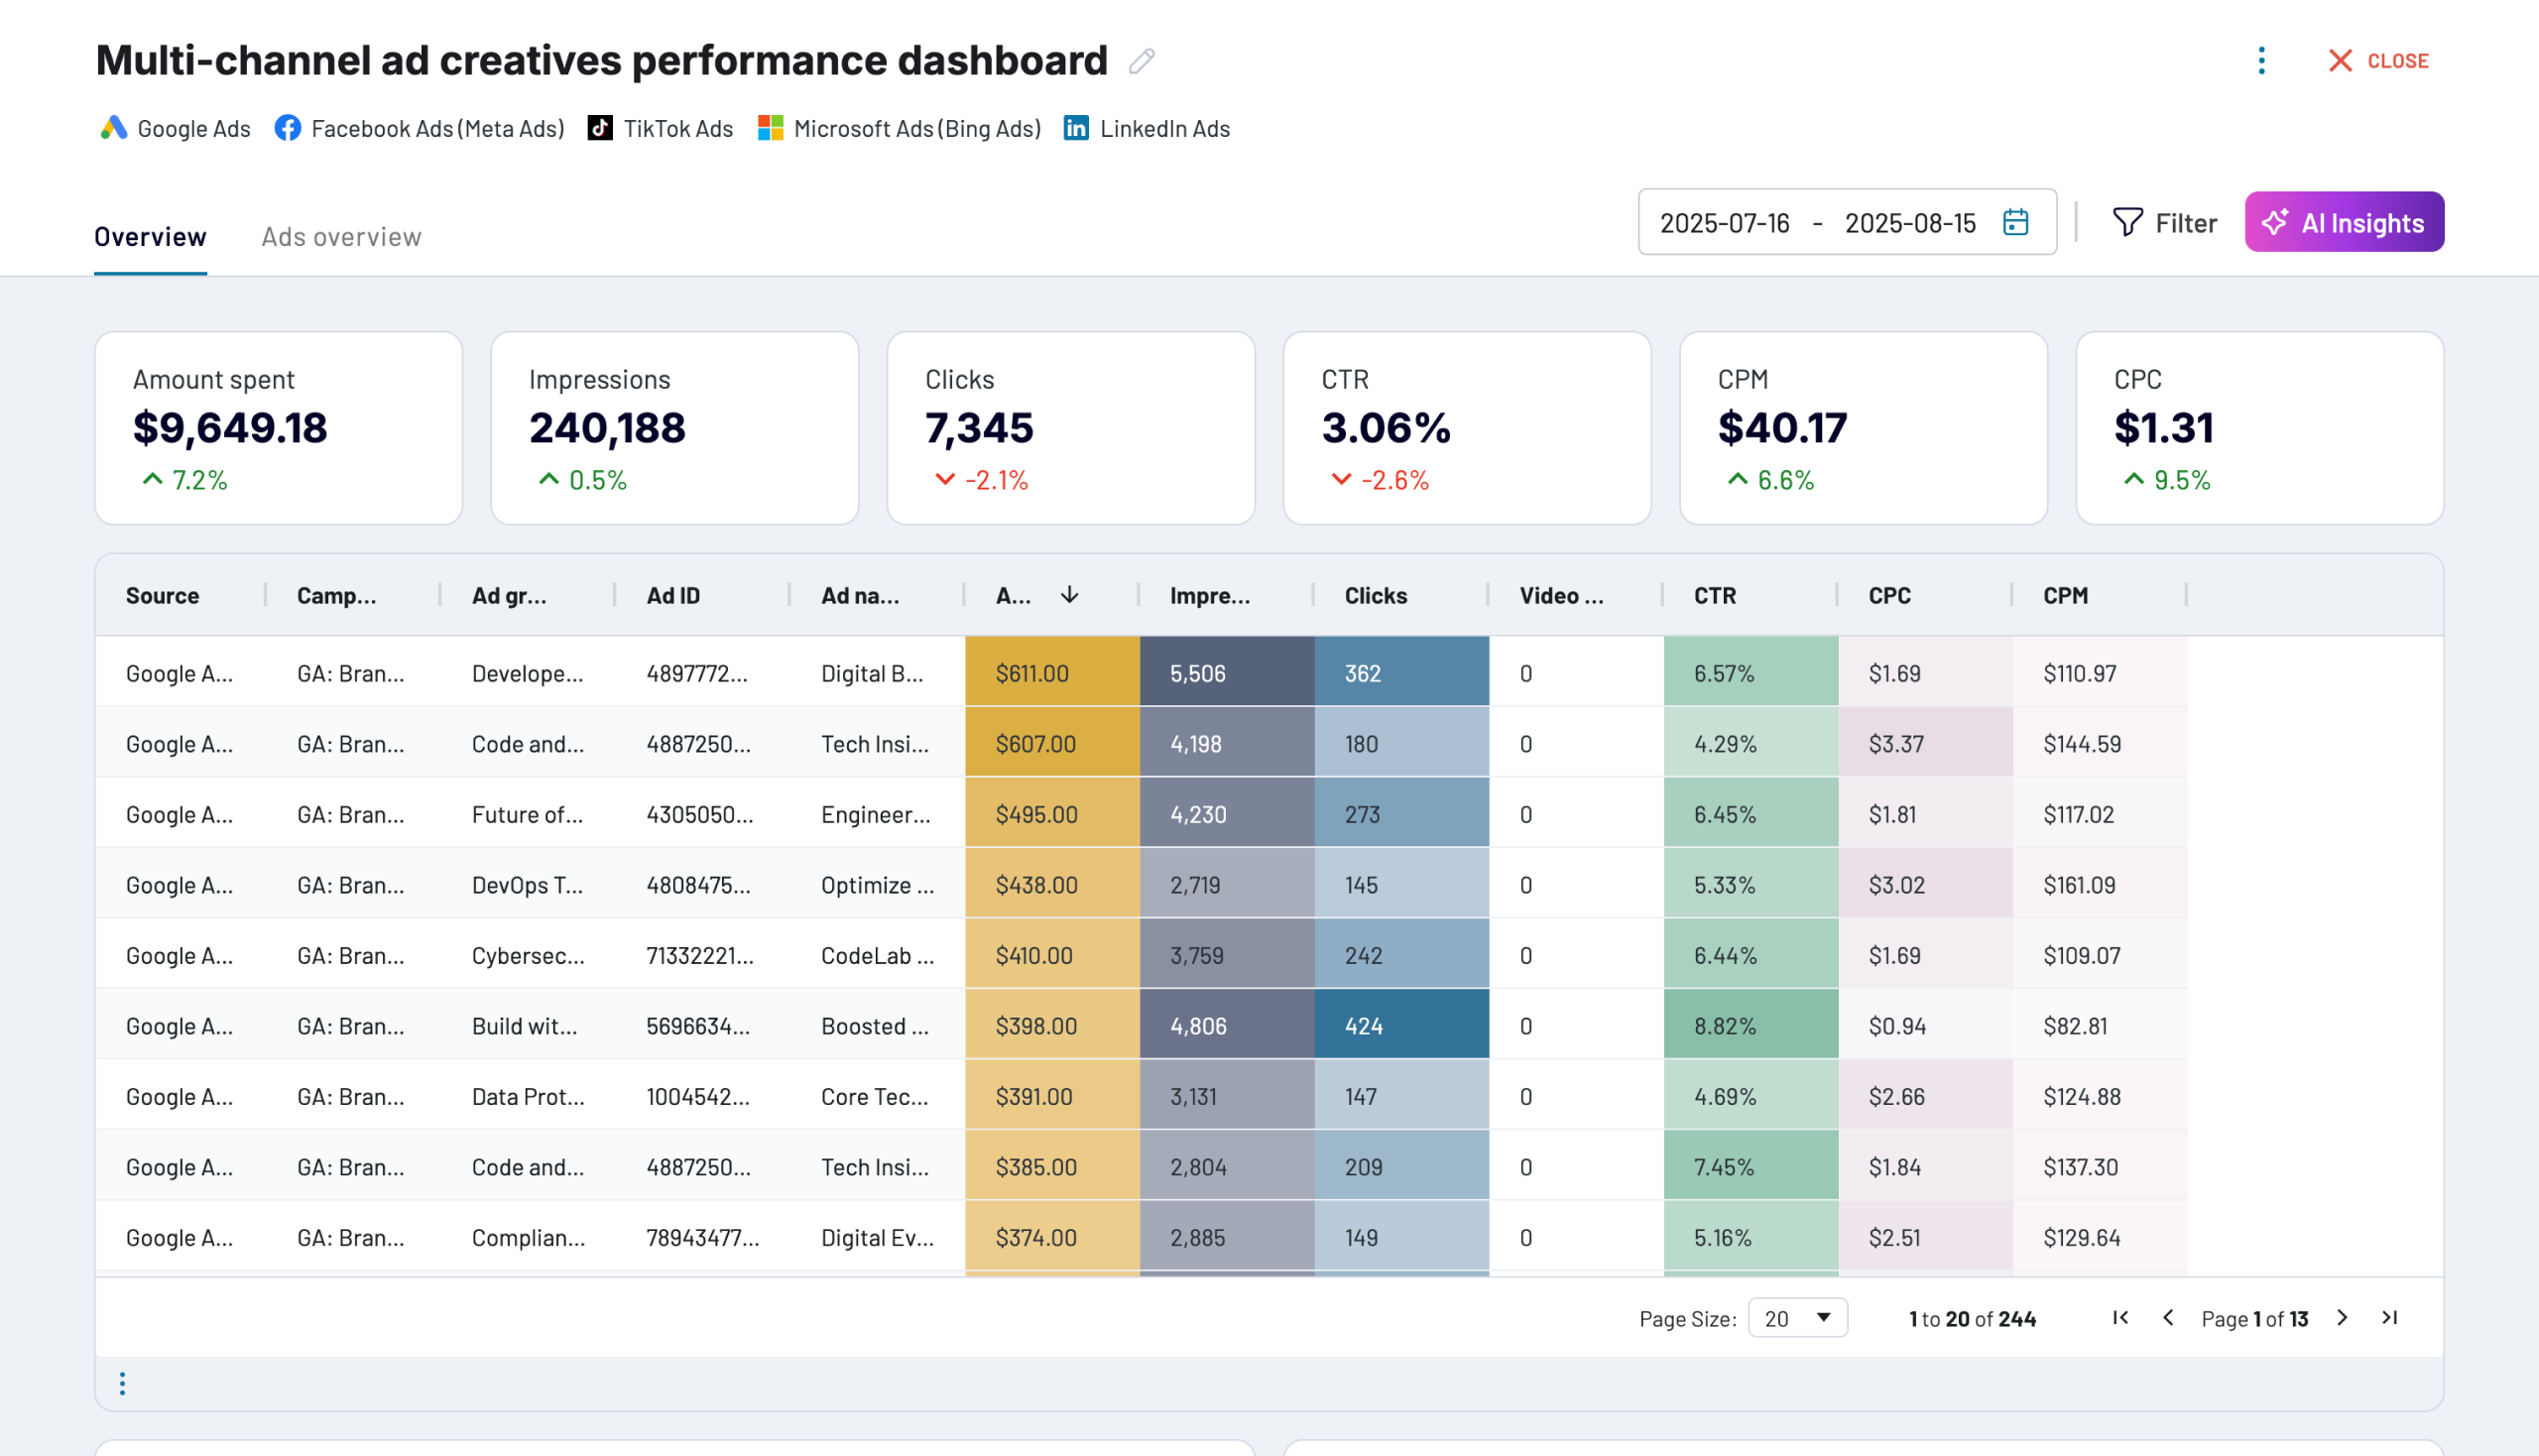
Multi-channel ad creatives performance dashboard


 +0
+0


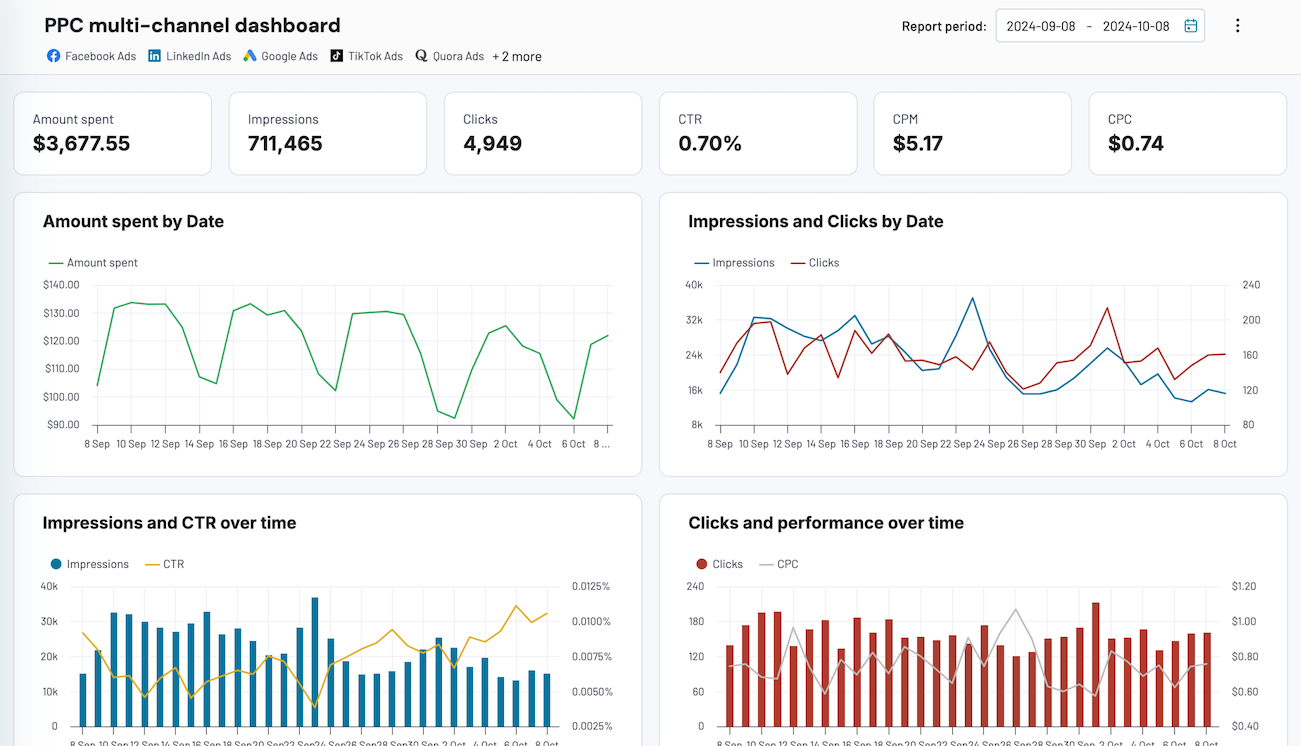
PPC multi-channel dashboard


 +4
+4
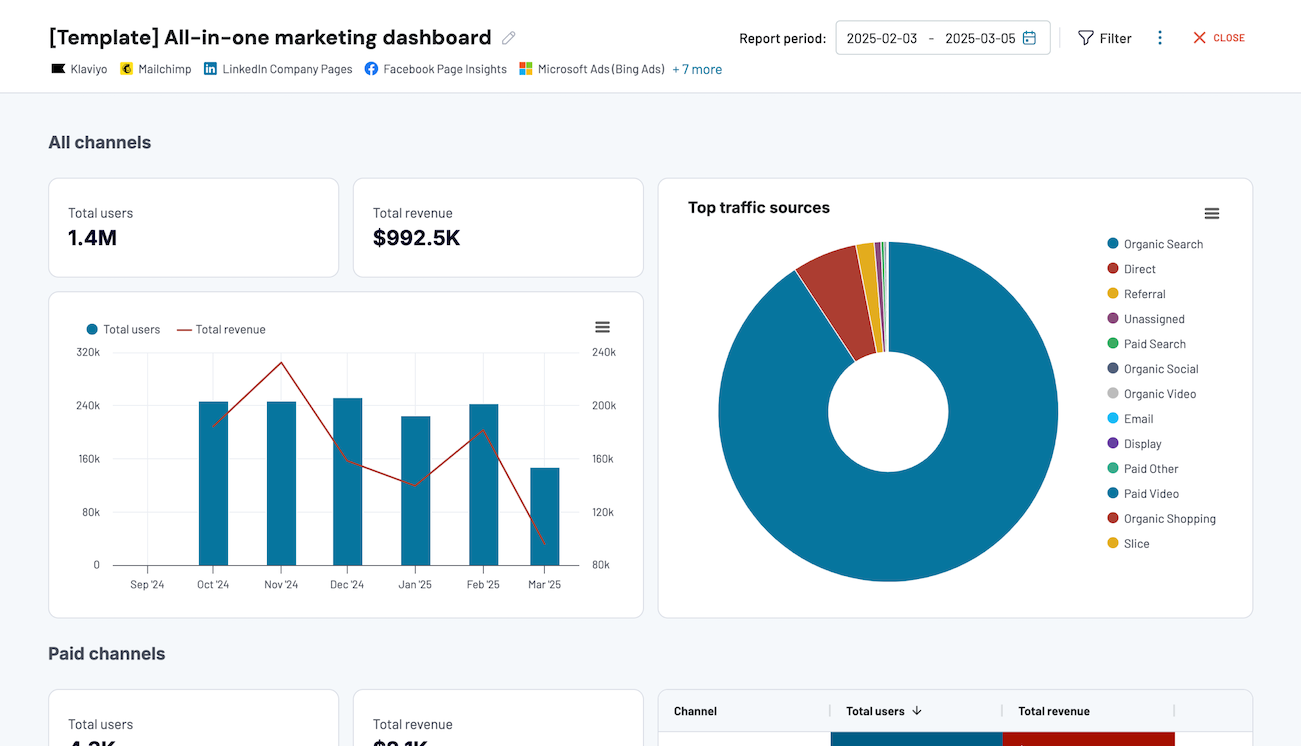
All-in-one marketing dashboard


 +7
+7
No such template is available yet.
No worries. Our team will create a template that fits your needs, just tell us more
about your case. It doesn't cost you a penny 😉
Request a custom report
about your case. It doesn't cost you a penny 😉
Export OneDrive to Power BI automatically with just a few clicks.
Connect similar Files & Tables apps and get data in minutes


What to export from OneDrive to Power BI

Marketing data
Connect OneDrive to Power BI to analyze campaign performance, discover customer behavior, and refine marketing strategies. This data enables you to delve into campaign metrics, assess audience engagement, identify high-performing channels, optimize marketing spend, and maximize marketing effectiveness to drive business growth.
Advertising data
One more reason to export OneDrive to Power BI is advertising data, which allows you to analyze ad impressions, click-through rates, conversion metrics, and audience demographics. This way, you can identify top-performing ads, assess the effectiveness of different ad placements, and refine targeting parameters to elevate your ROI.
Social media data
Import social media data from OneDrive to Power BI to enable social analytics and performance tracking. This provides insights into audience engagement, content effectiveness, and brand sentiment across various social platforms. Monitor follower growth, track post interactions, identify trending topics, and measure your impact.
E-commerce data
To look into online sales performance, customer behavior, and product trends, you can make use of e-commerce data. It enables you to analyze revenue, order volume, average order value, customer acquisition, retention, and lifetime value. Identify top-selling products, segment customer groups, and personalize marketing efforts.
SEO data
Export this data from OneDrive to Power BI for search engine performance analysis and optimization. It includes metrics like keyword rankings, organic traffic, backlink profiles, and website visibility. Using them, you can spot opportunities for keyword optimization, analyze competitor rankings, and assess the effectiveness of SEO strategies.
Finance data
Use it for robust financial analysis, forecasting, and decision-making. This dataset includes financial statements, budget vs. actuals, cash flow statements, and key financial ratios. It can help you monitor financial performance, identify trends, detect anomalies, optimize cash flow, manage expenses, and drive your profitability.
Sales data
Transfer sales data to analyze and forecast your sales performance. This information comprises sales transactions, revenue figures, pipeline metrics, and sales performance. These details will come in handy if you are looking to monitor sales trends, predict future revenue, identify top-selling products, and analyze sales territories.
CRM data
If you examine this dataset, you'll understand customer interactions, sales pipeline dynamics, and customer segmentation. This lets you overview customer profiles, lead statuses, opportunity stages, and customer engagement metrics. Find out how to best nurture customer relationships and which customer engagement strategies to adopt.
How do you connect OneDrive to Power BI?
Step 1. Connect your OneDrive account and choose from where you'd like to export data
30 seconds
Step 2. Organize and transform data before loading it into Power BI
30 seconds
Step 3. Connect your Power BI account and copy the integration URL to the desktop app
30 seconds
Step 4. Schedule automated refreshes to export OneDrive to Power BI at desired intervals
10 seconds
Pricing plans
- Monthly
- Annual (save 25%)
Your data is secured by industry standards
 SOC 2 Type II
Certified
 Google Cloud
Certified
 GDPR
GDPRCompliant
 HIPAA
HIPAACompliant
Don’t just take our word for it





Dramatically improved our reporting speed by about 60%. The interface is user-friendly, even for team members with no technical background.
Helped solve data processing issues, and customer service is 10/10. It is extremely easy to use, and allows us to extract data from multiple sources.
How to connect OneDrive to Power BI (detailed guide)
To connect OneDrive to Power BI and further import data, follow the step-by-step guide below:
Step 1: Collect data
First, connect your OneDrive account. Next, select the file from where you'd like to export data and adjust further settings if there are any. For example, if you're loading data from a workbook, you'll also be prompted to specify the particular worksheet(s).
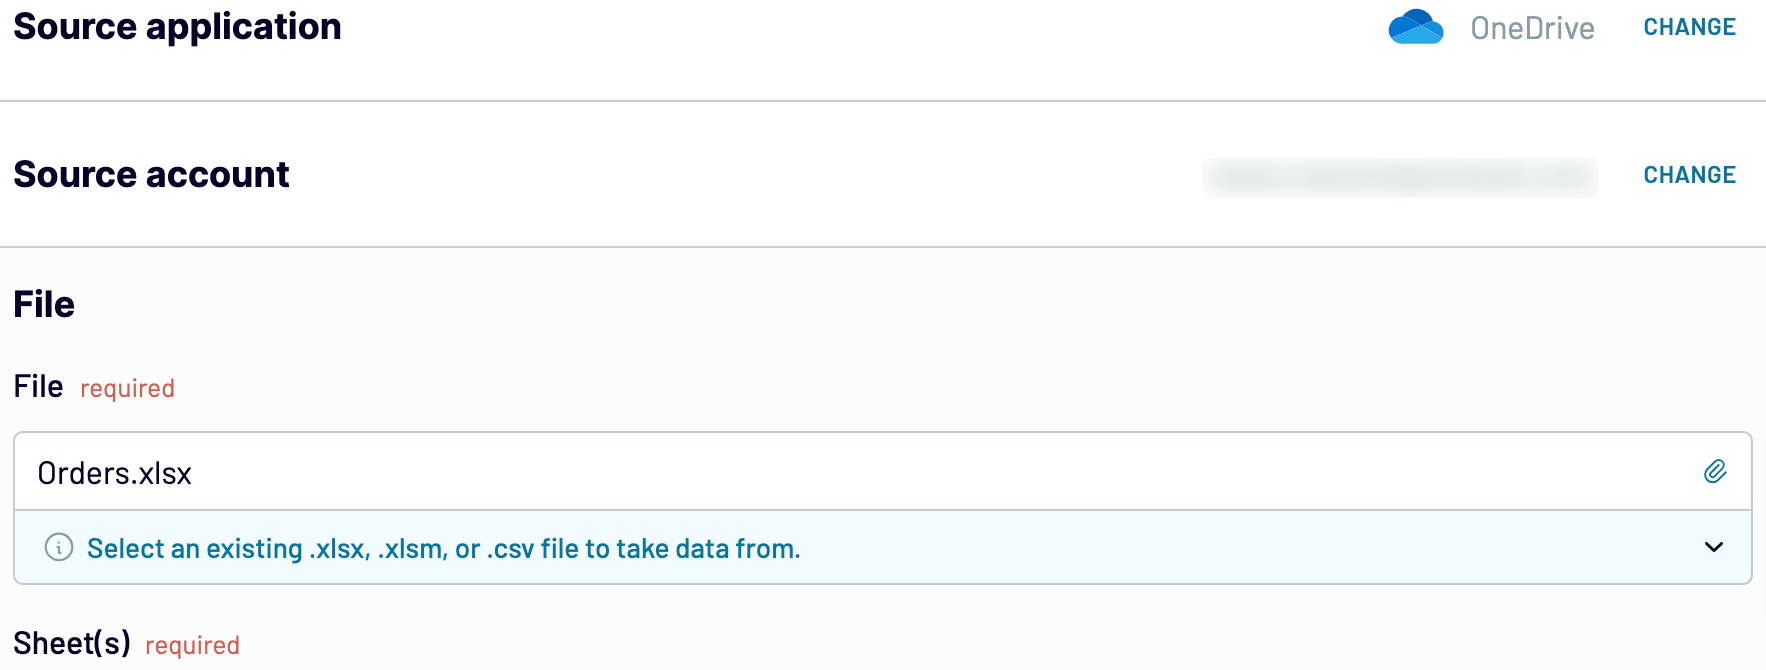
When you're finished with that, proceed to preview your data.
Step 2: Organize and transform
Before importing OneDrive to Power BI, you can look at your data to see whether it's organized according to your needs. If not, you can fix this by making the following data transformations:
By doing so, you can make sure that data will be ready for analysis as soon as it reaches the destination.
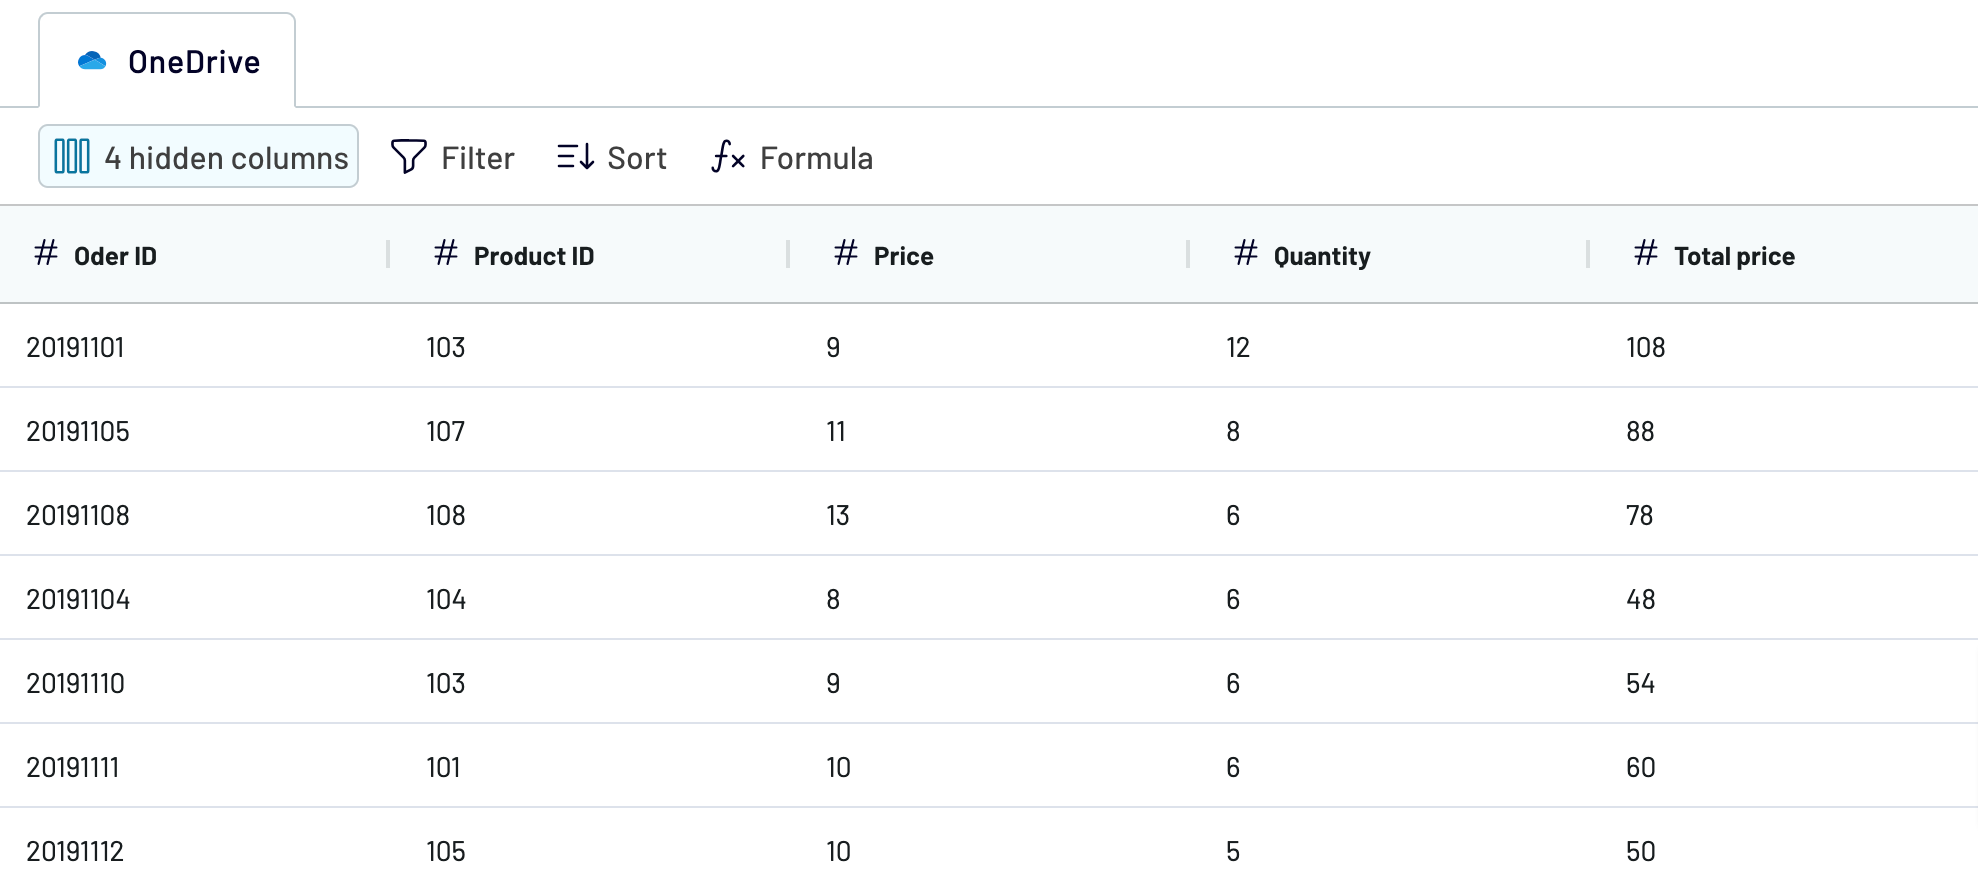
Once you've verified that the data is correct, move to configure your destination.
Step 3: Load and automate
To finally load your data from OneDrive to Power BI, follow the in-app instructions to do the following:
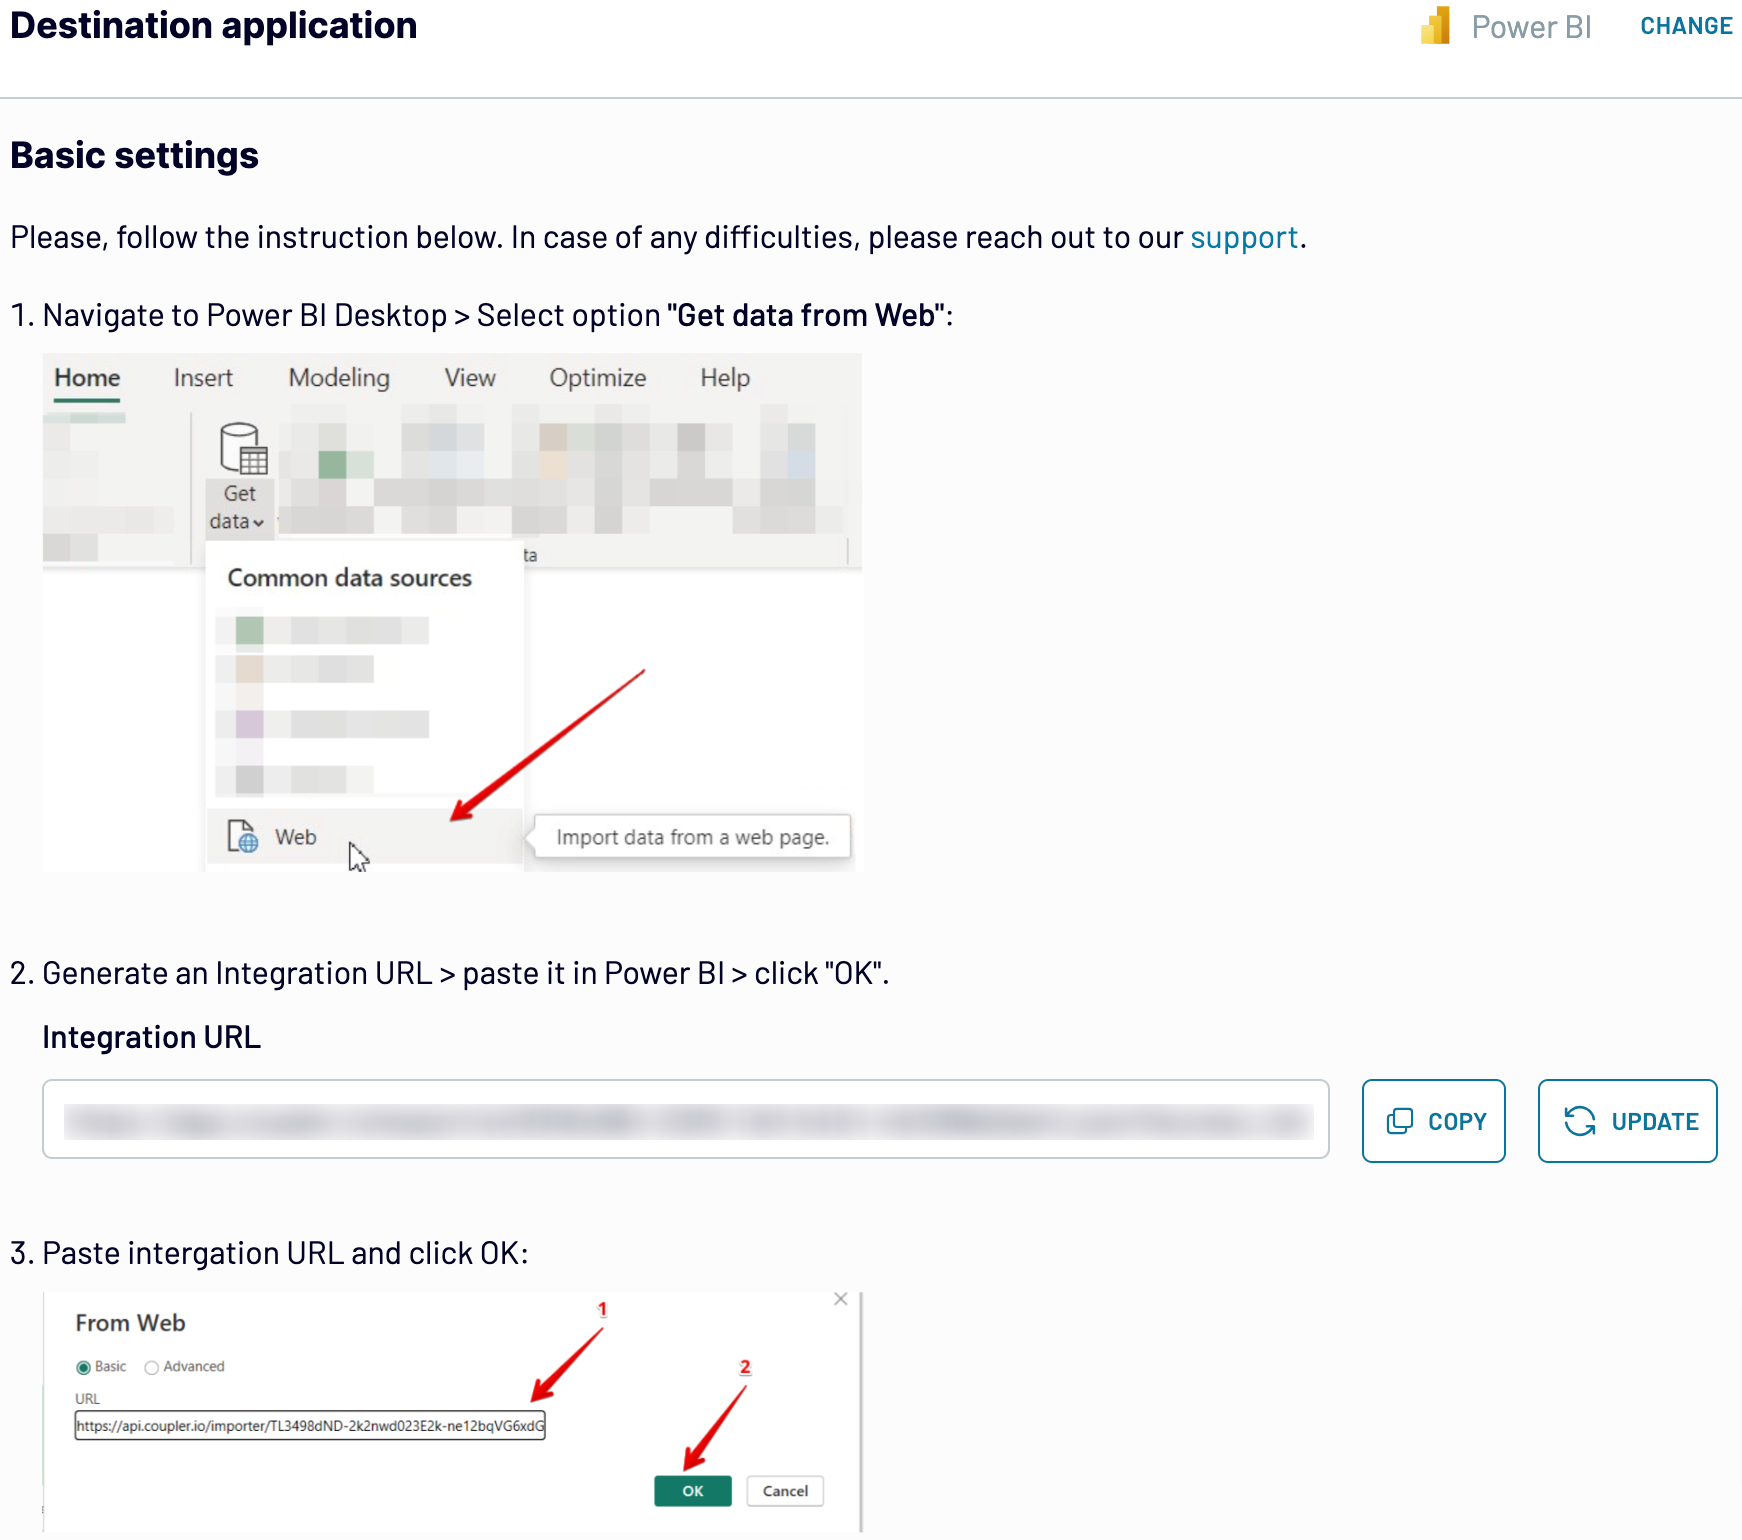
After that, activate the automatic data refresh functionality and select the frequency for updates. Lastly, save and run the importer to get the things done.
Step 1: Collect data
First, connect your OneDrive account. Next, select the file from where you'd like to export data and adjust further settings if there are any. For example, if you're loading data from a workbook, you'll also be prompted to specify the particular worksheet(s).
When you're finished with that, proceed to preview your data.
Step 2: Organize and transform
Before importing OneDrive to Power BI, you can look at your data to see whether it's organized according to your needs. If not, you can fix this by making the following data transformations:
- Edit, rearrange, hide, or add columns.
- Apply various filters and sort your data.
- Create new columns with custom formulas.
- Combine data from multiple accounts or apps.
By doing so, you can make sure that data will be ready for analysis as soon as it reaches the destination.
Once you've verified that the data is correct, move to configure your destination.
Step 3: Load and automate
To finally load your data from OneDrive to Power BI, follow the in-app instructions to do the following:
- Generate the integration URL.
- Paste it into the Power BI desktop app.
After that, activate the automatic data refresh functionality and select the frequency for updates. Lastly, save and run the importer to get the things done.
Export OneDrive to Power BI and automate it on schedule
To maintain the relevance of your Power BI report, enable automated data refreshes. Thanks to this feature, you won't longer need to manually adjust your report to the changes in the source data.
Customize the frequency according to your requirements, whether it's on a monthly, daily, hourly basis, or even every 30 or 15 minutes. Furthermore, you have the flexibility to set specific days of the week, the time frame, and the time zone.
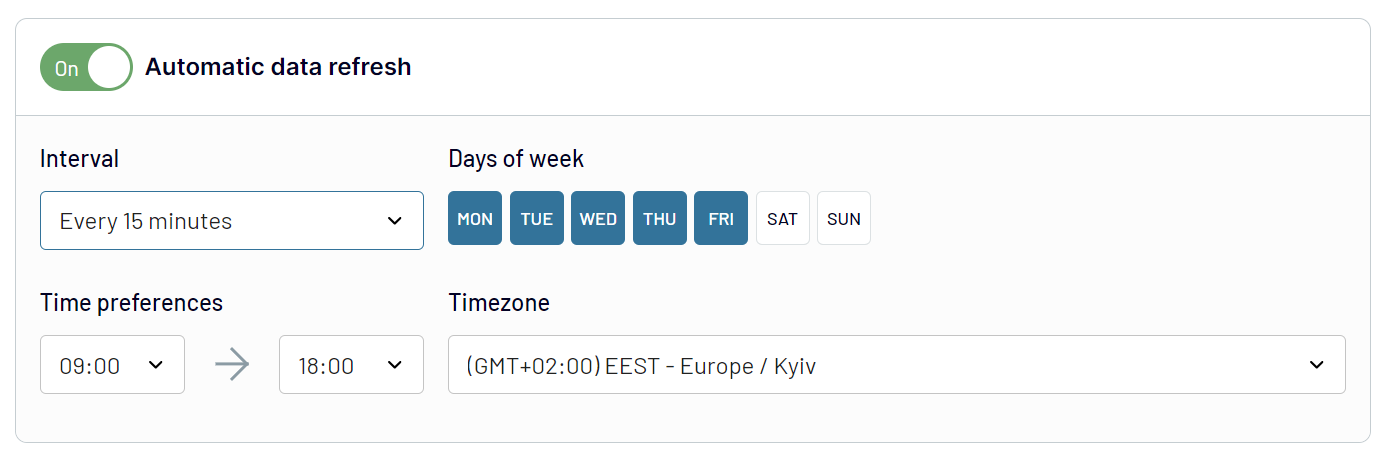
By scheduling these updates, you ensure your report provides you with the most recent information for data analytics.
Customize the frequency according to your requirements, whether it's on a monthly, daily, hourly basis, or even every 30 or 15 minutes. Furthermore, you have the flexibility to set specific days of the week, the time frame, and the time zone.
By scheduling these updates, you ensure your report provides you with the most recent information for data analytics.
Replace or append the data you export from OneDrive to Power BI
Coupler.io doesn't just fetch data from OneDrive. It can also gather related records from many other apps. To tap into this feature, connect another application by clicking the respective button when adjusting the source settings.
Then, go through a setup process similar to what you did for the initial source. This allows you to establish connections with various apps, even multiple accounts within one.
Moreover, Coupler.io has the ability to blend data from different sources. This means you can combine data from OneDrive with information from elsewhere.
When you connect the desired sources and start previewing your data, you have two options:
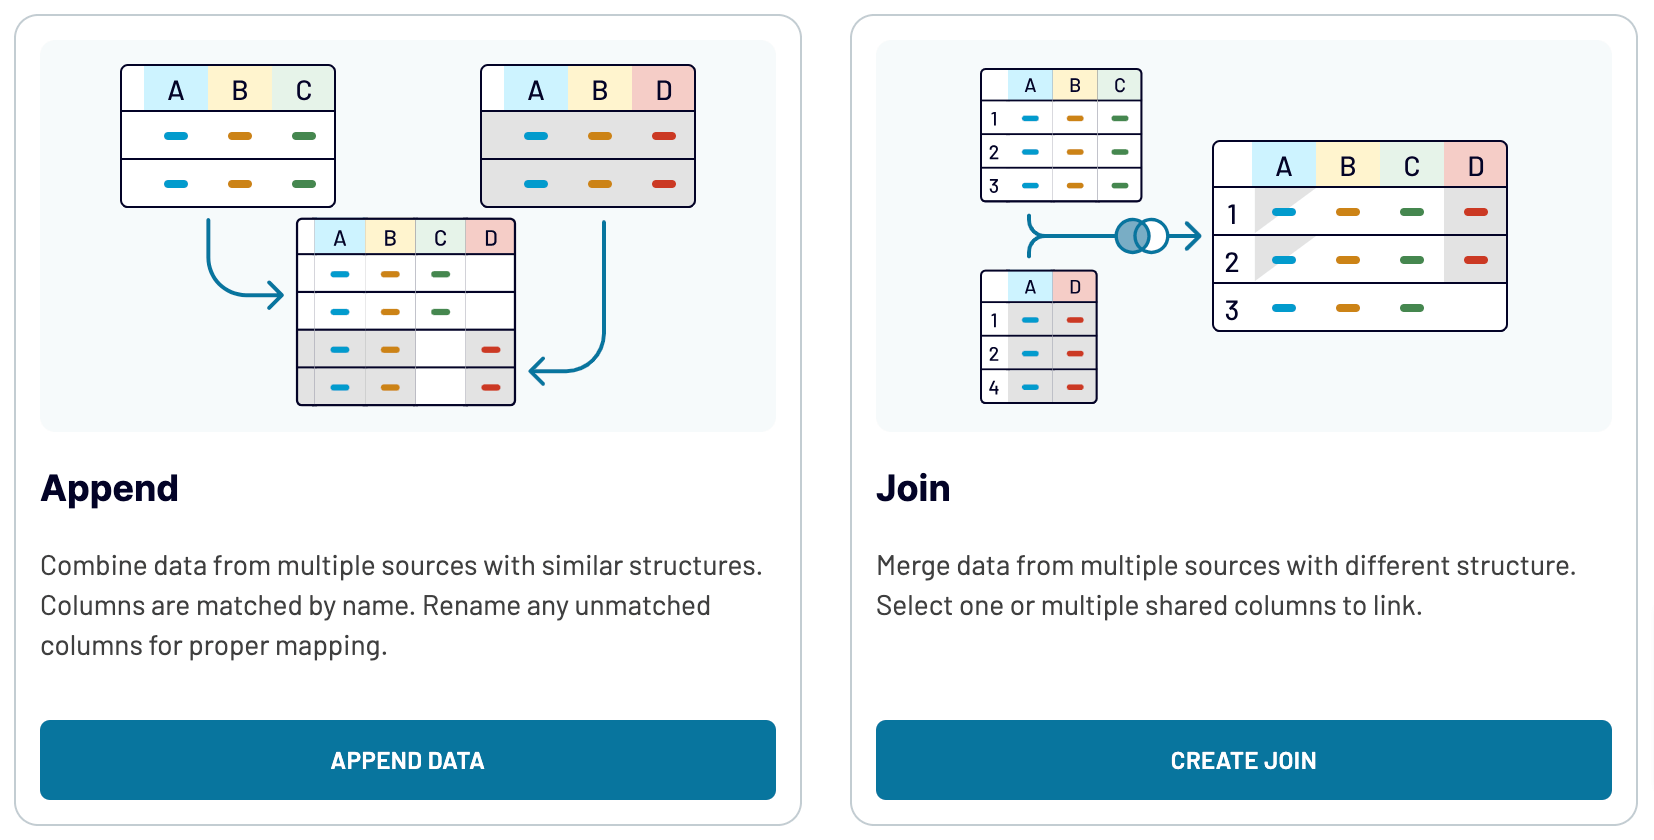
By including diverse sources, ranging from marketing platforms to CRM apps, you can gain a deeper understanding of your data.
Then, go through a setup process similar to what you did for the initial source. This allows you to establish connections with various apps, even multiple accounts within one.
Moreover, Coupler.io has the ability to blend data from different sources. This means you can combine data from OneDrive with information from elsewhere.
When you connect the desired sources and start previewing your data, you have two options:
- Append: Integrate data from one source into another, as long as they have matching column names.
- Join: Merge datasets side by side, with at least one column having the same name.
By including diverse sources, ranging from marketing platforms to CRM apps, you can gain a deeper understanding of your data.
Export OneDrive to Power BI or another destination
Apart from the option to connect OneDrive to Power BI, Coupler.io offers you to replicate importers and get your data to many more apps:
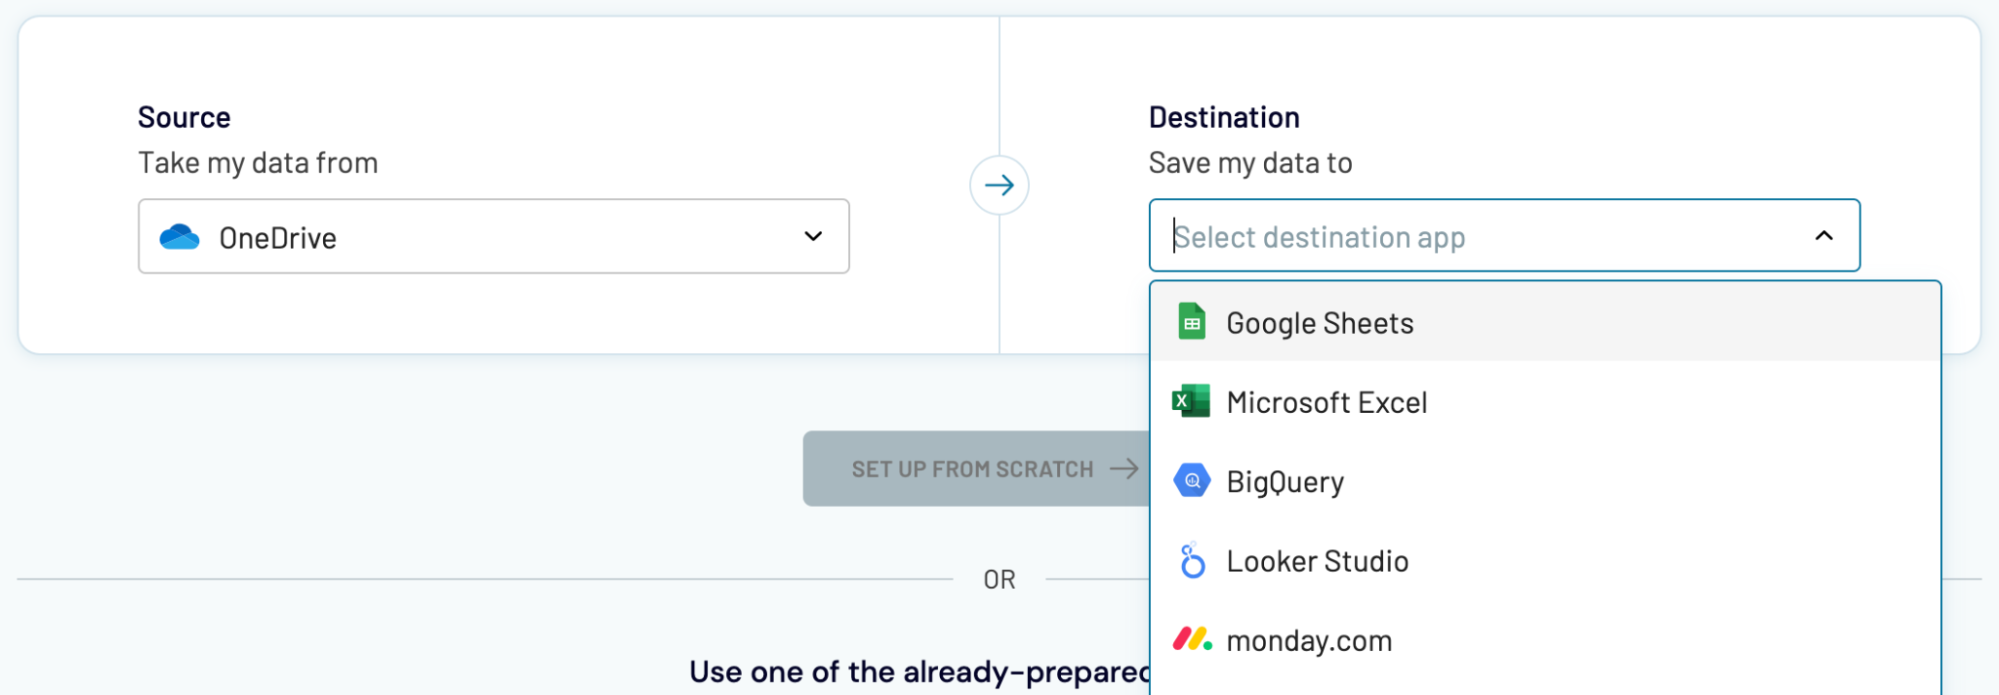
Importing data from OneDrive to alternative destinations isn't much different from the previously described process for Power BI.
- Spreadsheet applications: Microsoft Excel and Google Sheets.
- Data warehouses: BigQuery, PostgreSQL, and Redshift.
- Other business intelligence (BI) tools: Data Studio, Tableau, and Qlik.
Importing data from OneDrive to alternative destinations isn't much different from the previously described process for Power BI.