Export Airtable to Excel
Simplify your reporting by connecting Airtable to Excel using Coupler.io. It does not require technical expertise to collect, transform, and manage data. Create custom reports and schedule their refresh in workbooks without any hassle.


Connect Airtable to Excel with Coupler.io for automated reporting

Get and prepare data effortlessly
Set up a no-code integration that will export Airtabe to Excel as frequently as you need. Prepare your data for analysis or sharing on the go before loading it into your workbook. Combine data from several databases to get the complete picture of your business activity with the help of one solution.

Automate reporting tasks
Connect Airtable to Excel and enable the automatic data refresh to access the most recent data. Create tailor-made reports to monitor key metrics and share them with your colleagues. Let Coupler.io automate your manual reporting routine to increase your time efficiency.

Stand out as a data-driven expert
Benefit from an all-in-one solution to export Airtable to Excel and transform the raw data into insights. Easily share your reports with clients and stakeholders to empower data-driven decision-making. Create multi-channel reports in Coupler.io and demonstrate your high-level expertise.
Export data from Airtable to alternative destinations


Quick start with dashboard templates
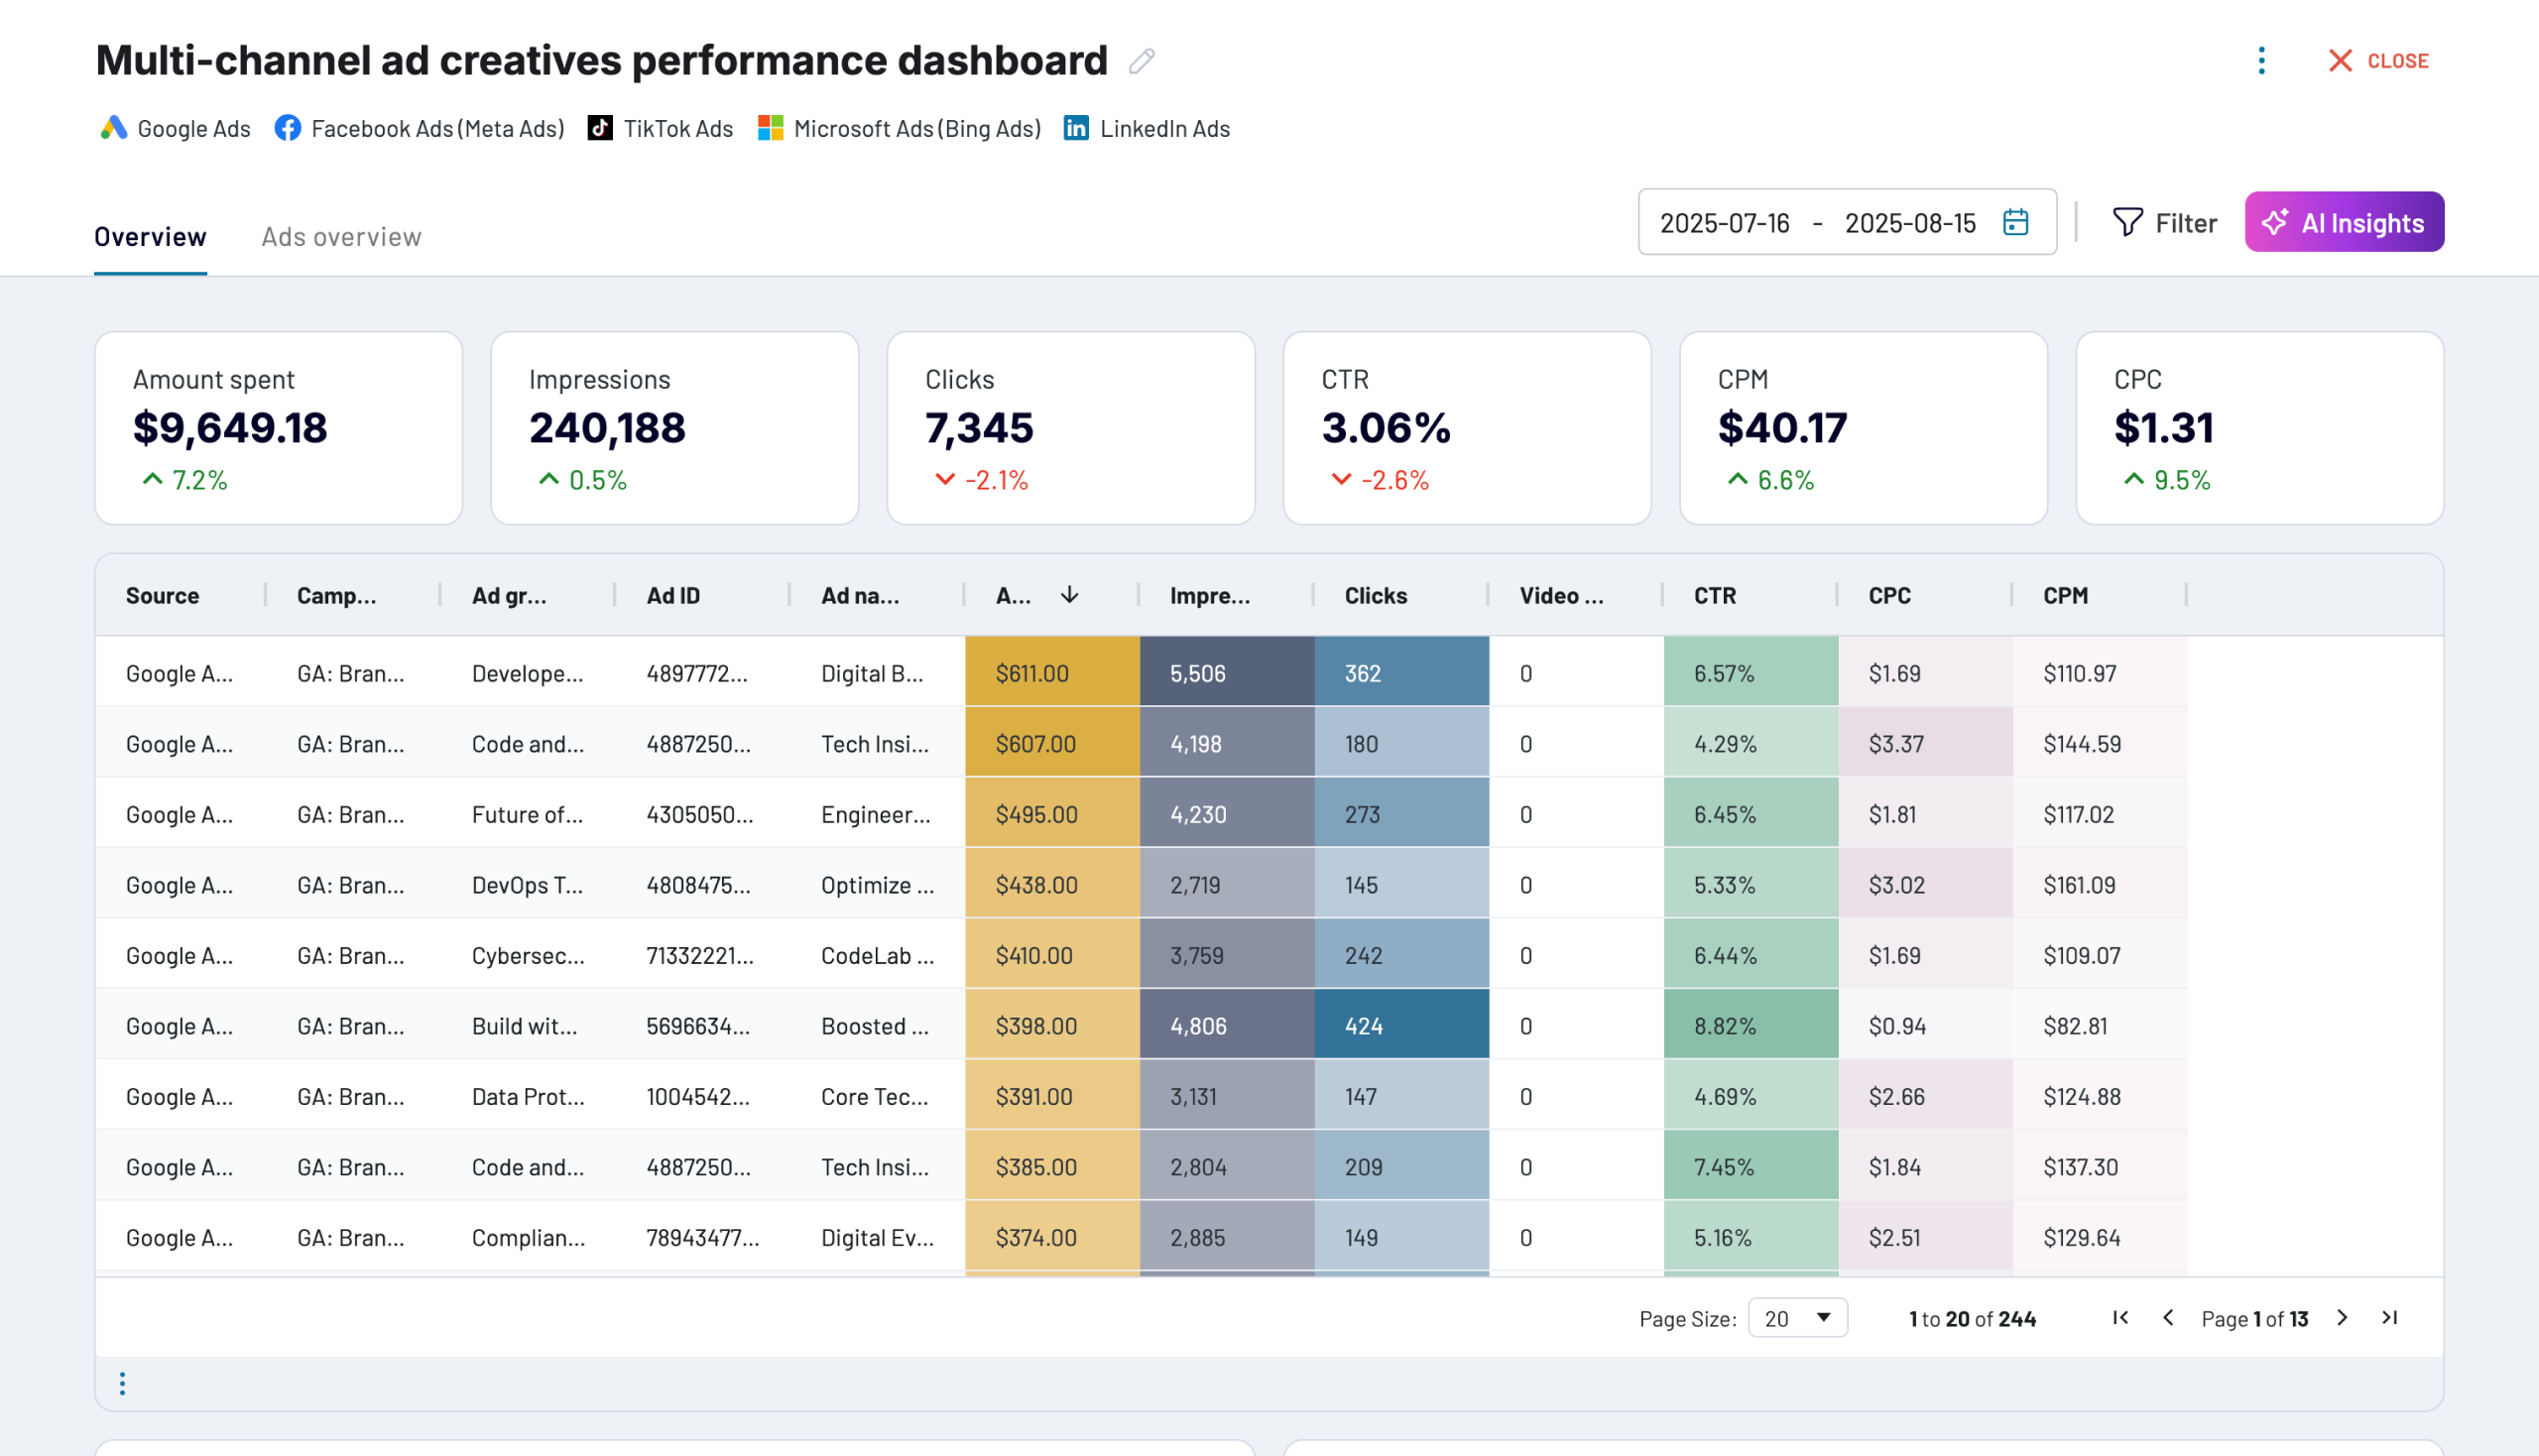
Multi-channel ad creatives performance dashboard


 +0
+0


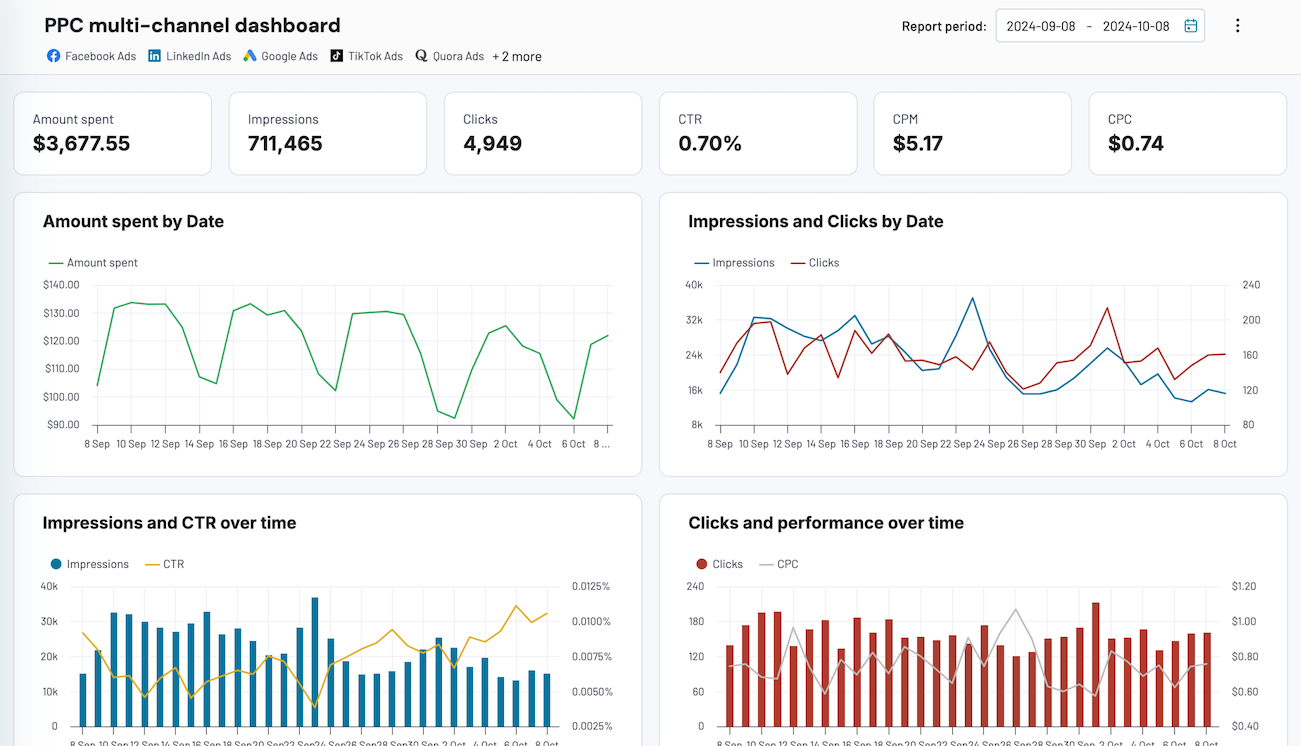
PPC multi-channel dashboard


 +3
+3
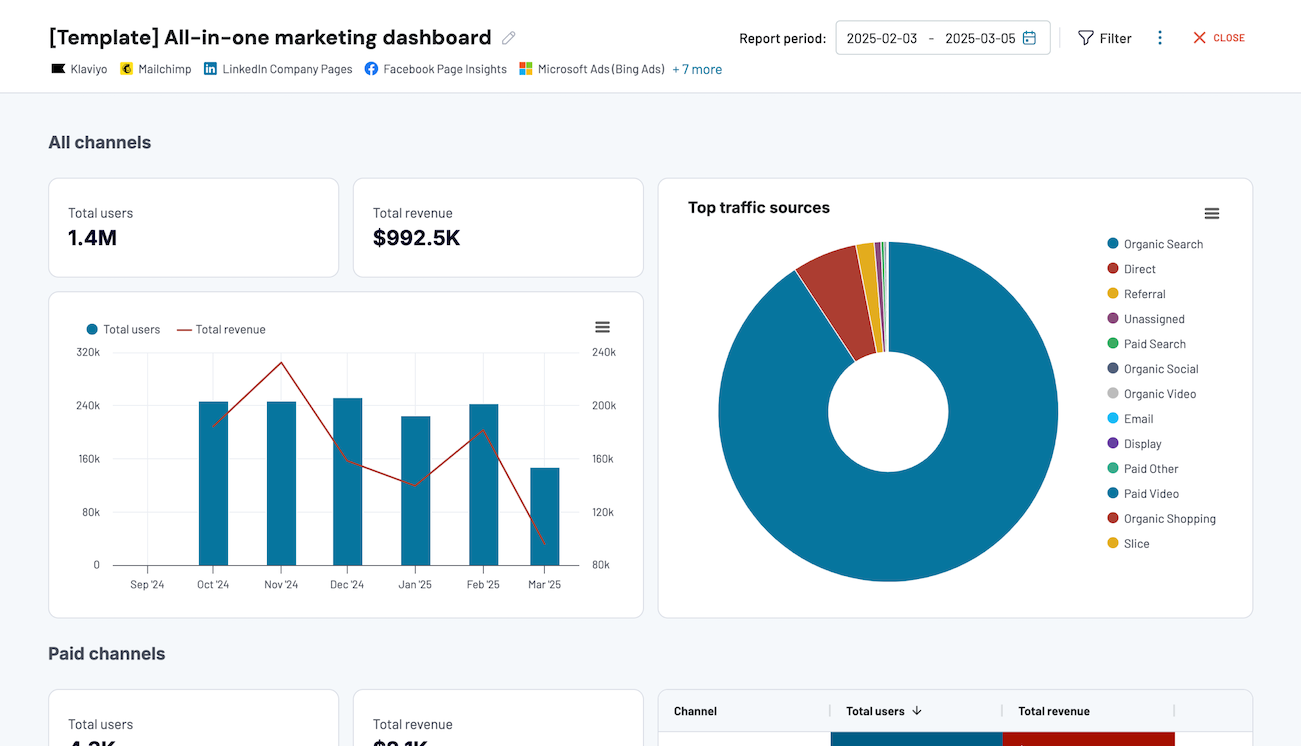
All-in-one marketing dashboard


 +6
+6
No such template is available yet.
No worries. Our team will create a template that fits your needs, just tell us more
about your case. It doesn't cost you a penny 😉
Request a custom report
about your case. It doesn't cost you a penny 😉
Export Airtable to Excel on a schedule.
Connect similar Files & Tables apps and get data in minutes


What data you can export from Airtable to Excel

Project management
Efficiently track comprehensive project details. These include timelines, task assignments, resource allocations, and progress updates. This data allows project managers to perform complex analyses across multiple projects. With this in mind, you can enhance decision-making and resource management.
Customer Relationship Management (CRM)
Consolidate all customer relationship data, including interactions, sales histories, and engagement analytics. Perform in-depth analysis to identify trends and optimize sales processes. Enhance customer retention strategies through detailed data segmentation and pattern recognition.
Inventory management
Organize detailed inventory records, including stock levels, supplier details, and order histories. Apply predictive analytics for demand forecasting and optimize inventory turnover rates. You can reduce costs through better supply chain management and procurement strategies.
Event planning
Manage every aspect of event organization, from guest lists and venue details to timelines and budgeting. Consolidate all event-related data to facilitate seamless event execution.
Marketing
Capture and analyze key metrics to evaluate your marketing investments. With this data in Excel, marketers can refine targeting strategies and optimize budget allocation. This also allows them to measure the impact of various marketing initiatives effectively.
Content
Plan and track all content-related activities. These include publishing schedules, content types, and editorial deadlines. This data allows content managers to oversee production flows and ensure timely delivery. Analyze content performance across different platforms without hassle.
Human resources management
Maintain comprehensive employee databases, performance reviews, and recruitment activities. Filter HR data to manage staffing efficiently. HR professionals can also track employee development and streamline administrative processes.
Product planning and development
Oversee the entire lifecycle of product development from concept through launch. In Excel, teams can track development stages and manage timelines. This allows them to ensure product success in competitive markets.
Research and data collection
Systematize vast amounts of research data, from experimental results to survey responses. Researchers can heavily use Excel to sort data, identify patterns, and perform statistical analysis to draw accurate conclusions.
Educational resources
Organize educational content, track student achievements, and manage instructional resources. Educational institutions can monitor program effectiveness, optimize curriculum, and manage administrative tasks in Excel.
Real estate management
Track real estate portfolios, including property details, rental agreements, and maintenance records. Real estate managers can optimize asset management and enhance financial oversight in Excel.
Creative work and portfolios
Catalog creative projects, display timelines, and manage artistic outputs. Excel is ideal for artists and designers to organize their portfolios. They can also track exhibitions and plan future works with an organized data structure.
How to export data from Airtable to Excel
Step 1. Provide a share link to your Airtable view to export data from
30 seconds
Step 2. Organize and transform data before loading it to Excel workbooks
30 seconds
Step 3. Connect your Microsoft Excel account and specify where to load your data
30 seconds
Step 4. Schedule data refresh to automate data flow from Airtable to Microsoft Excel
10 seconds
Pricing plans
- Monthly
- Annual (save 25%)
Your data is secured by industry standards
 SOC 2 Type II
Certified
 Google Cloud
Certified
 GDPR
GDPRCompliant
 HIPAA
HIPAACompliant
Don’t just take our word for it





Dramatically improved our reporting speed by about 60%. The interface is user-friendly, even for team members with no technical background.
Helped solve data processing issues, and customer service is 10/10. It is extremely easy to use, and allows us to extract data from multiple sources.
How to export Airtable to Excel (detailed guide)
Coupler.io is the quickest, easiest, and most efficient way to export Airtable to Excel and automate data refresh. The connection process is rather fast and won’t take more than a couple of minutes.
Start by registering your Coupler.io account for free. Since you will be using Excel as a destination for your data, you can also install our add-in from the Microsoft AppSource. With this add-in, you can export Airtable data to Excel and manage the integration right from your workbook.
After you sign in to Coupler.io, you will need to add a new importer. In Coupler.io, importers are integrations between a source app and a destination app. So, for your importer, you’ll need to select Airtable as a source app and Excel as a destination app.
Bear in mind that each importer allows you to export a single view from Airtable. Therefore, if your Airtable database consists of several views, you will need to create separate importers for each view. You can duplicate importers and tune them per each Airtable view to optimize the process.
At the same time, you can add multiple sources within one importer. In this case, all the added Airtable views will be combined into one master view in the destination Excel workbook.
Step 1: Get a share link to your Airtable view
Create a shared view link for your Airtable view and insert it into the Shared URL field.
To obtain a shared view link of your Airtable view, you need to click the Share and sync button => Create link to view.
For the password-protected views, you’ll need to enter the password in the provided field in Advanced settings.
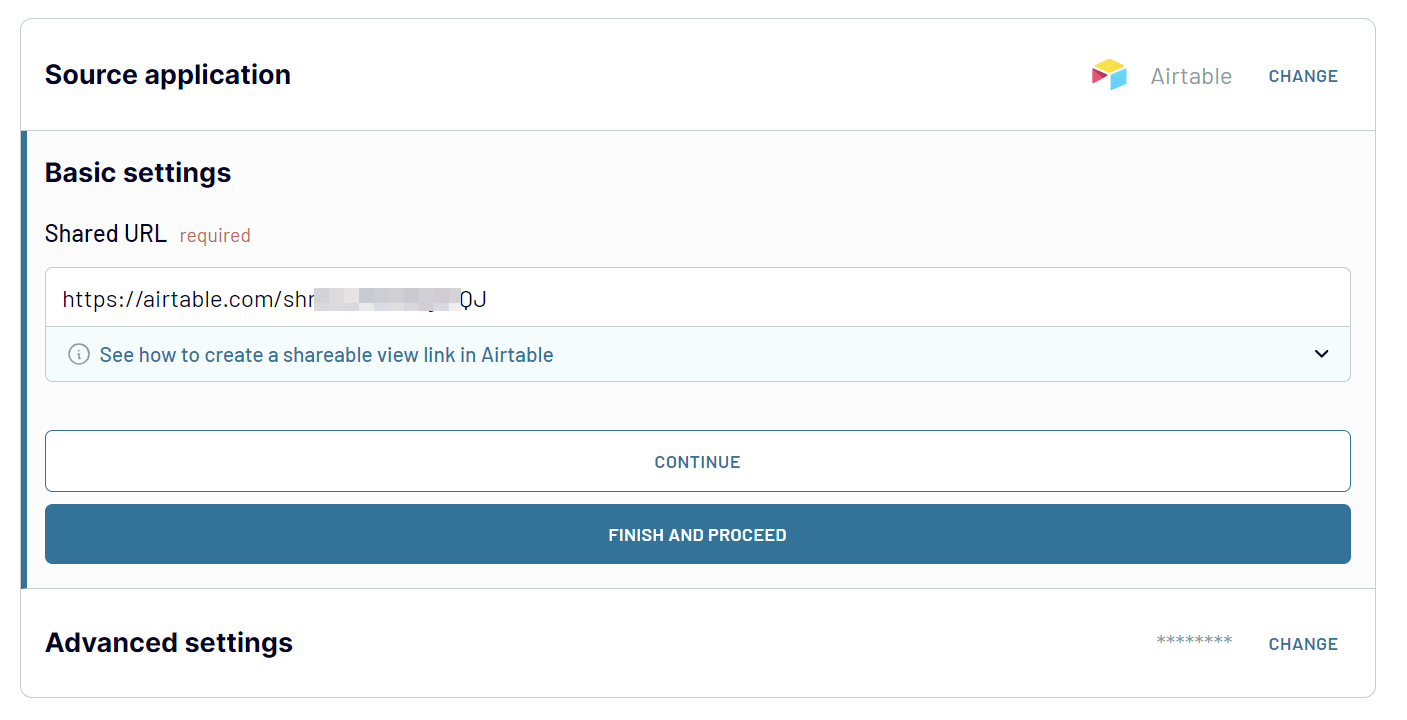
If you want to consolidate data from multiple Airtable views, you can click Add one more source and configure the source for other views.
Step 2: Organize & transform data
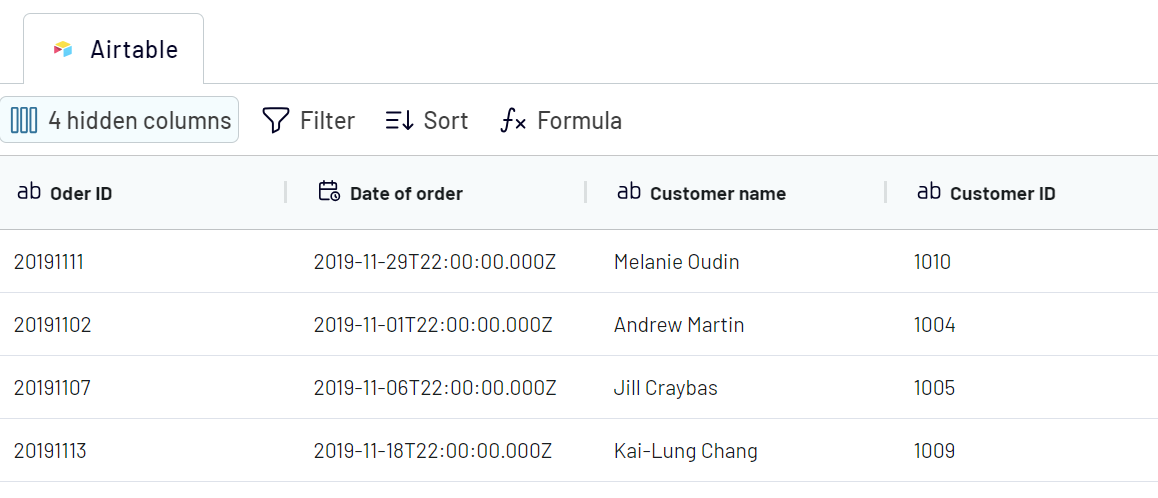
Coupler.io can export Airtable to Excel and simplify working with data. It provides a Transform module to manipulate the data directly within the app’s interface before loading it to the chosen destination. It allows you to:
Step 3: Load data
Add the Microsoft account you want to use for data loading and connect it to Coupler.io. You will need to sign in to your Microsoft account and allow the access rights you are granting to Coupler.io.
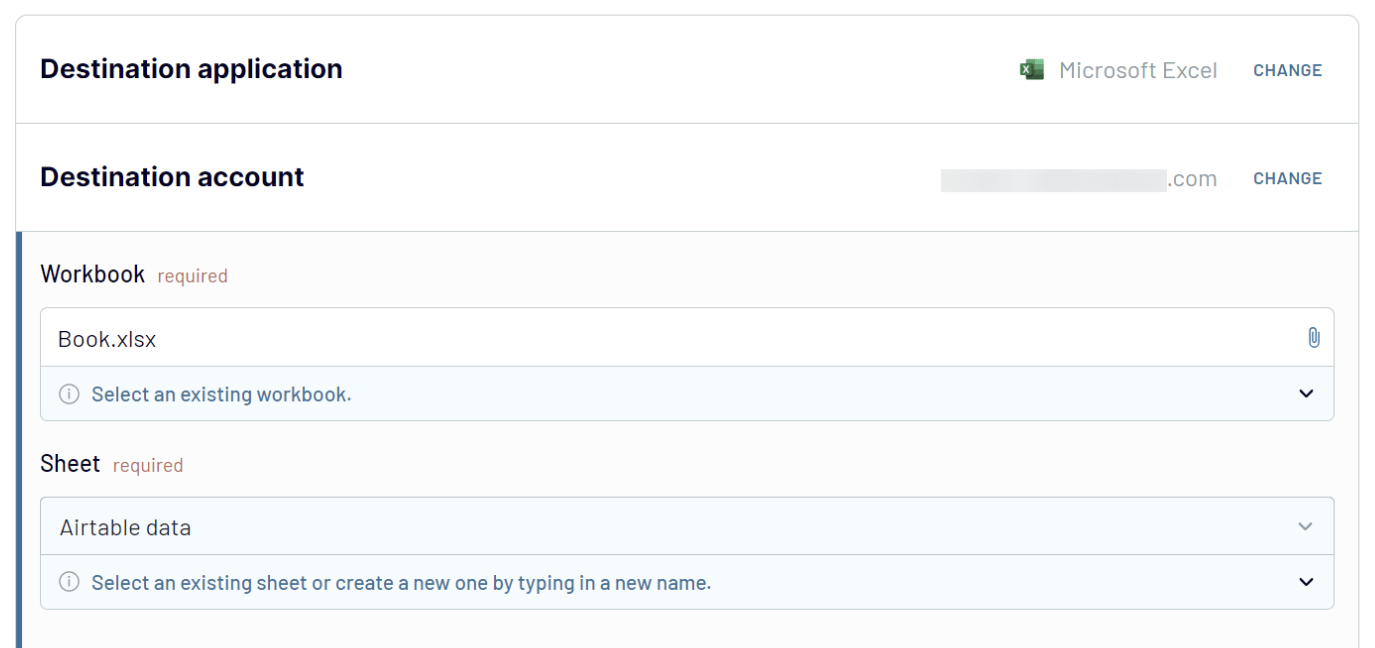
Next, choose the Excel workbook and worksheet where the Airtable data will be loaded. You can select the existing sheet, or you can create a new one. For this, type in a new name, and Coupler.io will create a new worksheet in the selected Excel workbook
In the optional fields, you can:
Click Run Importer once you're ready. After the successful import, you can check out your exported Airtable data. For this, click the View Results button.
This three-step process to export Airtable to Excel is not complete since you can also automate data refresh.
Start by registering your Coupler.io account for free. Since you will be using Excel as a destination for your data, you can also install our add-in from the Microsoft AppSource. With this add-in, you can export Airtable data to Excel and manage the integration right from your workbook.
After you sign in to Coupler.io, you will need to add a new importer. In Coupler.io, importers are integrations between a source app and a destination app. So, for your importer, you’ll need to select Airtable as a source app and Excel as a destination app.
Bear in mind that each importer allows you to export a single view from Airtable. Therefore, if your Airtable database consists of several views, you will need to create separate importers for each view. You can duplicate importers and tune them per each Airtable view to optimize the process.
At the same time, you can add multiple sources within one importer. In this case, all the added Airtable views will be combined into one master view in the destination Excel workbook.
Step 1: Get a share link to your Airtable view
Create a shared view link for your Airtable view and insert it into the Shared URL field.
To obtain a shared view link of your Airtable view, you need to click the Share and sync button => Create link to view.
For the password-protected views, you’ll need to enter the password in the provided field in Advanced settings.
If you want to consolidate data from multiple Airtable views, you can click Add one more source and configure the source for other views.
Step 2: Organize & transform data
Coupler.io can export Airtable to Excel and simplify working with data. It provides a Transform module to manipulate the data directly within the app’s interface before loading it to the chosen destination. It allows you to:
- Preview data: Check if the data you need to extract loads correctly before exporting.
- Manage columns: Hide unwanted columns, rename and reorder columns, change column data types, and add calculable ones using the supported calculation formula.
- Filter data: Apply various filters to extract only the required data based on specific criteria. Select the column containing the filtering criterion (e.g., status) and specify the desired value.
- Add new columns: Create new metrics (columns) using calculation formulas.
Step 3: Load data
Add the Microsoft account you want to use for data loading and connect it to Coupler.io. You will need to sign in to your Microsoft account and allow the access rights you are granting to Coupler.io.
Next, choose the Excel workbook and worksheet where the Airtable data will be loaded. You can select the existing sheet, or you can create a new one. For this, type in a new name, and Coupler.io will create a new worksheet in the selected Excel workbook
In the optional fields, you can:
- Specify the first cell where you export Airtable data to Excel.
- Change the import mode from replace to append. In the replace mode, all previously imported data will be replaced with the latest information from your Airtable view. In the append mode, the latest information will be placed below the previously imported entries.
- Add a column specifying the date and time of the last data refresh.
- Choose whether you want to update data each run if nothing has changed in the source.
Click Run Importer once you're ready. After the successful import, you can check out your exported Airtable data. For this, click the View Results button.
This three-step process to export Airtable to Excel is not complete since you can also automate data refresh.
Connect Airtable to Excel and schedule data refresh
Automatic data refresh is switched off by default meaning that your Airtable data won’t be automatically refreshed in the chosen Excel workbook. If you want to automate export Airtable to Excel, toggle on Automatic data refresh and configure the desired schedule.
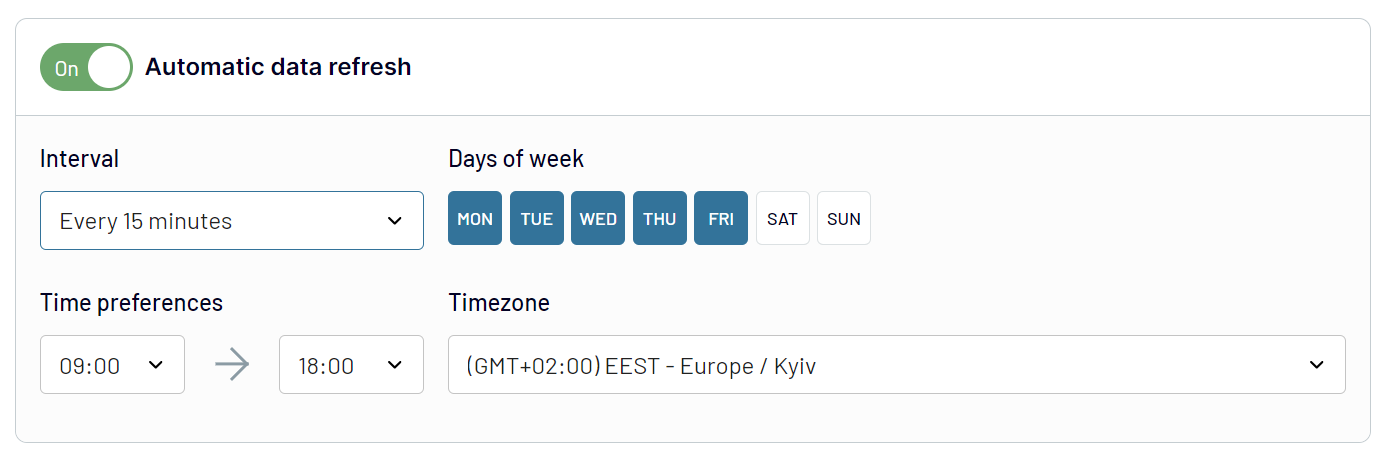
- Interval: Select the desired time interval from every month to every 15 minutes.
- Days of week: Choose the days on which the export should occur.
- Time preferences: Set the preferred time for the export.
- Time zone: Specify the time zone for accurate scheduling.
Export Airtable to Excel and combine it with other data
Coupler.io allows you to blend data from various sources in Excel. You can export data from Airtable and merge it with information from other apps. For this, click Add one more source before proceeding to the Transform step.
Or you can combine data from other advertising platforms. For instance, you can load data from Facebook Ads to Excel and blend it with information from Google Ads, LinkedIn Ads, Instagram Ads, and so on.
This way, you can also consolidate data from multiple Airtable views.
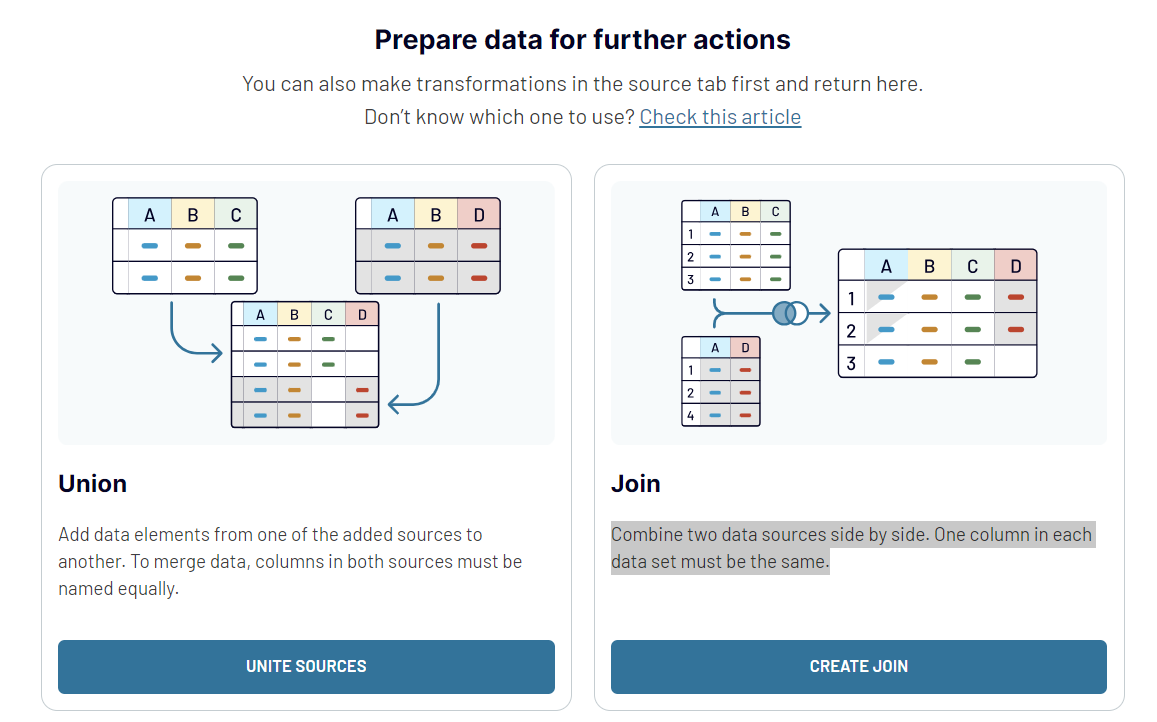
Coupler.io offers two distinct data blending methods to suit your analysis needs:
Or you can combine data from other advertising platforms. For instance, you can load data from Facebook Ads to Excel and blend it with information from Google Ads, LinkedIn Ads, Instagram Ads, and so on.
This way, you can also consolidate data from multiple Airtable views.
Coupler.io offers two distinct data blending methods to suit your analysis needs:
- Union data: This method allows you to combine data from different sources by appending rows from one source to another. For a successful union, ensure that the columns in both sources share identical names.
- Join data: This technique enables you to align data from two sources side by side. This is particularly useful for comparative analysis or multidimensional tracking. A common column in each dataset is necessary to execute this type of merge.